Tab
Tabs make it easy to organize your conversations. They act like folders, helping you sort and manage your dialogs more efficiently. You can easily move dialogs from one tab to another, making your workspace neat and easy to navigate.
Key Features
Tab Creation
Users can add a new tab by clicking the plus icon, providing a clean and organized way to categorize and group related dialogs.
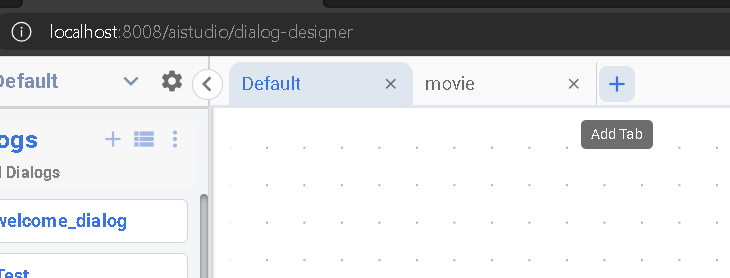
Creation of new Tab
A new tab can be created by clicking on the plus icon located at the end of the last tab.
-
Click on the plus icon located in the tab bar.
-
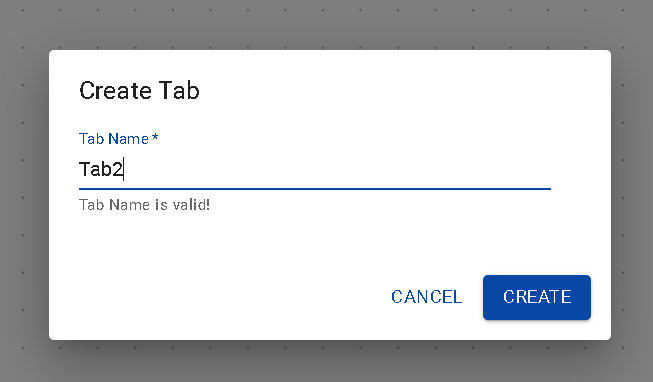
Enter a name for the new tab .
-
Press "Create" to add the new tab.
Dialog switching
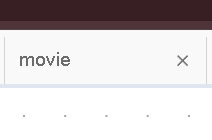
Closing a Tab
Tabs within the interface can be efficiently closed by simply clicking on the cross mark ("x") positioned next two the tab name.
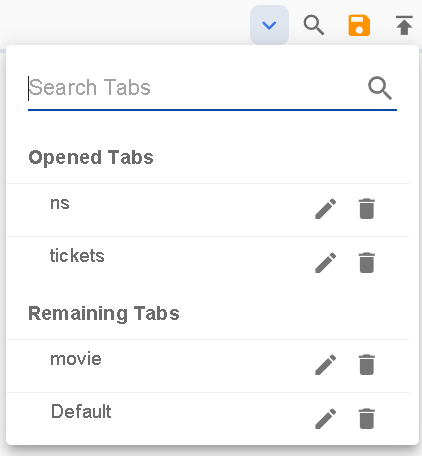
All tabs cannot be closed simultaneously, atleast one tab must remain open. The top-right corner of the page features a convenient dropdown menu providing an overview of both open and closed tabs. This menu serves as a quick reference for tab management.
-
Click on the dropdown menu located in the top-right corner of the page.
-
The menu displays a list of open tabs, enabling easy navigation between them. Clicking on an open tab in the dropdown allows users to quickly switch to that tab.
-
Additionally, closed tabs are listed, offering the option to reopen them if needed.
Deleting a Tab
Follow the steps below to delete a tab:
-
Click on the dropdown menu located in the top-right corner of the page.
-
Click on the delete option present next to the tab name.
-
A confirmation prompt will appear, requesting you to enter the tab name to confirm the deletion.
-
Once confirmed, the entire tab, along with all associated dialogs, will be deleted.
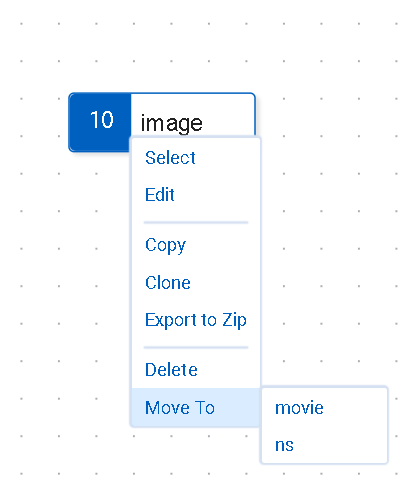
Moving dialogs among tabs
-
Right-Click: Begin by right-clicking on the dialog that you wish to move.
-
Select "Move to": From the context menu, choose the "Move to" option.
-
Choose Tab: A list of tabs will appear. Select the tab where you want to move the dialog.
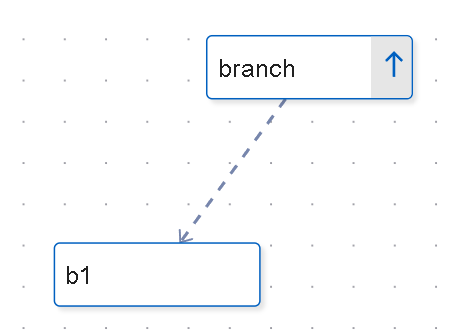
Branching across tabs
When branching is done between the dialogs situated in different tabs, a clear visual indication is employed using arrows to signify the direction of the branching.
-
Upward Arrow: Positioned adjacent to the branch name, on the tab where the branching occurs. This arrow indicates that the conversation is branching out from this point.
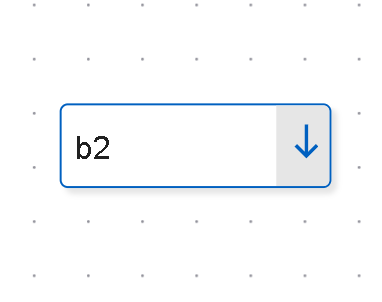
-
Downward Arrow: Positioned adjacent to the branched dialog element, on the tab housing that element.
When a branch is made from dialogs "b1" & "b2" to "branch"dialog, the visualization of arrows will be as shown below,